You are viewing an Unlisted article which can only be accessed by people with the direct link.
Mammoth Kickstand Installation Guide
Follow these steps to install the kickstand on your Mammoth belt squat. This guide includes the latest installation process, reference measurements from the provided drawing, and quick fixes for the most common setup issues.
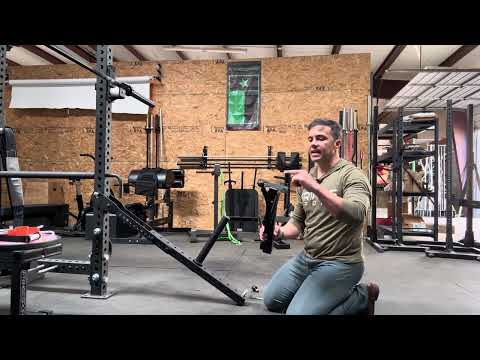
Tools Needed
- 24 mm wrench
- 17 mm wrench
- Adjustable wrench (or a second 24 mm wrench)
Kickstand Drawing Measurements
Reference measurements from the provided kickstand drawing are listed below for identification and fit reference.
| Reference | Value | Notes |
|---|---|---|
| Overall drawing length | 545 mm | Primary overall dimension shown on drawing |
| Main span | 475 mm | Secondary dimension shown on drawing |
| Front section reference | 150 mm | Short section dimension shown near the front |
| Tube size | 50 × 2 mm square tube | Material callout from drawing |
| Wear/contact plate | 10 mm nylon plate | Material callout from drawing |
| Additional drawing reference | 50 mm | Additional dimension label visible on drawing |
Assembly Instructions
-
Move the weight horn
If your weight horn is currently installed in the fifth hole on the Mammoth arm, move it to the sixth hole.
- Count 1-6 holes from the front.
- Use the 24 mm wrench to loosen the horn bolt and remove the horn.
- Insert the bolt and washer from below through the sixth hole.
- On top, layer in this order:
- Lock washer
- Large washer
- Weight horn (hand-tighten only for now)
- Tighten by hand first to avoid cross-threading. Once snug, finish tightening with your wrench.
-
Remove the bumper
Locate the rubber bumper near the kickstand mounting area.
- Loosen it with a wrench.
- Set the bumper aside - you will use it again shortly.
-
Position the kickstand
- Grab the kickstand.
- Important: the side with the groove/hole should face toward the squat rack (away from you).
- Lift the Mammoth slightly to create clearance.
- Slide the kickstand into place under the frame.
- Reinstall the rubber bumper you removed:
- Insert it from underneath
- Add the nut on top
- Hand-tighten for now
-
Bolt the kickstand
Use one of the bolts included with the kickstand kit. Fringe ships two for flexibility.
- Insert the bolt and washer from the top.
- On the underside, add another washer, then a lock nut.
- Hand-tighten the bolt.
-
Tighten and align
- Use the 24 mm wrench and your adjustable wrench (or second wrench) to hold the lock nut in place.
- Begin tightening the bolt.
- Before fully tightening, eyeball the alignment of the kickstand.
- It does not have to be perfect - just mostly straight.
- Once aligned, finish tightening securely.
Done!
The full install takes under 5 minutes. Your Mammoth belt squat is now kickstand-equipped and ready to move serious weight.
Quick Video Short

Common Issues & Quick Fixes
| Issue | Cause | Fix |
|---|---|---|
| Kickstand hits the weight plate when closing | Kickstand is mounted too far forward, or the weight horn is too close |
|
Apr 17, 2026